How to Install Pool Padding and Cove Yourself for the Perfect Pool Bottom !
by Mackey on 01/20/11
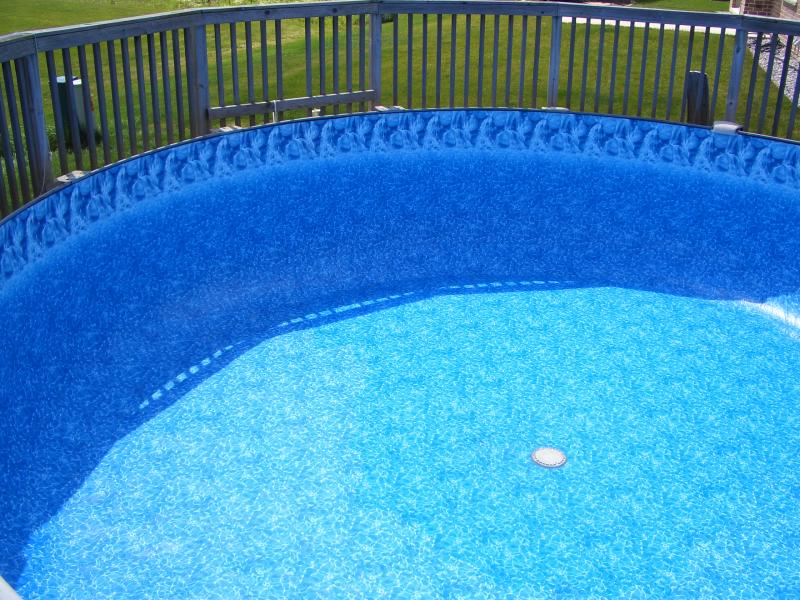
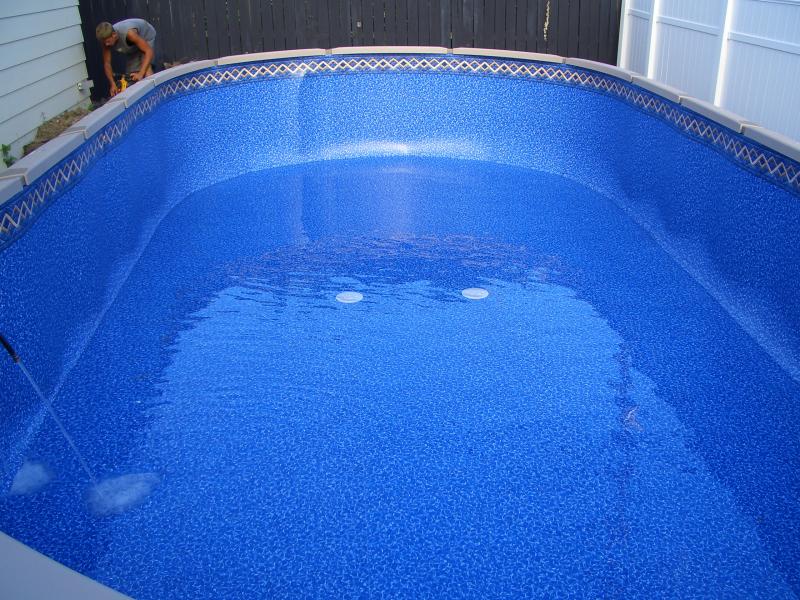
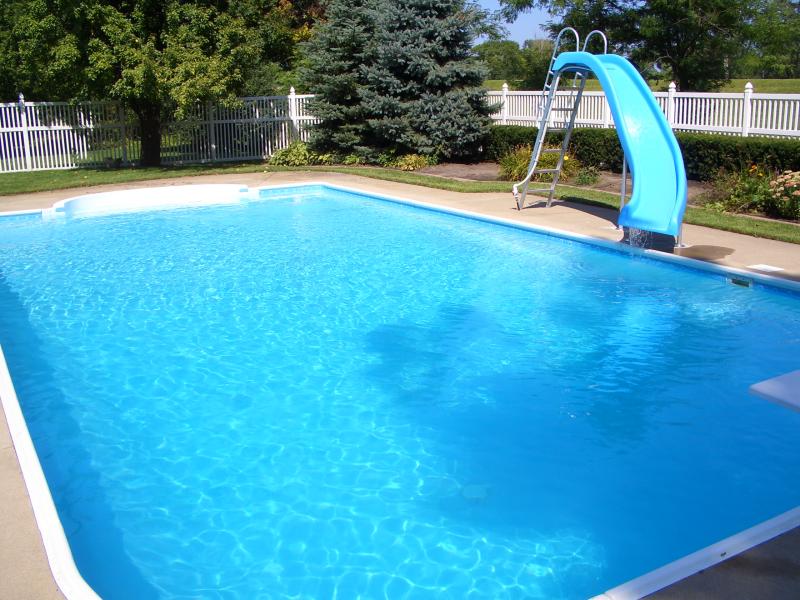
With more than 30 years in the swimming pool business I have had the opportunity to experience many products and techniques when installing above ground swimming pools. The most important step is the base preparation and how to do it right. Sand has always been recommended as the best base material and for good reason it is dense and compacts well when wet which is what you want when prep work for the pool base is done. However, sand can be contaminated with debris that will damage the liner if not properly screened. So what is the absolute perfect material for your swimming pool base? The answer is Pool padding and cove. Pool padding and cove is a polyethylene foam padding that comes in 4 ft. rolls and is precut to your pool size. It adds a soft comfortable feel to the bottom of your pool, acts as an insulator, reduces heat loss to the ground, eliminates sink holes, washouts, provides a smooth flat surface for easy pool cleaning, protects the liner from rocks, bugs, moles, roots, nut grass and is a must when installing on concrete or asphalt surfaces. Lets begin the installation! 1) After leveling the blocks and cleaning all debris from the inside area begin bringing in the clean mason sand (approx 2-3 inches) spreading it evenly just below the wall channel. Rake ,wet and tamp with a 10 inch hand tamper and then lightly broom out any imperfections. 2)Once you are satisfied with the sand preparation start laying down the padding. Starting with the smallest first without walking on the sand. (Walk on the padding already placed down as you go.) 3) Make sure the padding edges are tight together and then start taping with 4 inch duct tape adding two layers per joint. (It is imperative that you keep the padding joints tight while taping or you will see the gaps when the liner is installed.) 4) After all joints are double taped and tight begin trimming the padding around the wall channel and main drains if you have them. Use a sharp razor knife and stay as close to the wall channel as you can. Even though the pool cove will cover this area try to keep it tight. 5) At this point the wall can be installed and then the pool cove which is self adhesive and simply sticks to the wall. Keep the cove tight to the pool padding and then push and stick to the wall. Remember, no gaps !! Tape all joints again and your ready to install the liner. 6) As you can see, by using pool padding and cove you are guaranteed a professional installation with no wrinkles or imperfections. Your liner is completely protected from any foreign objects in the ground. As you begin to fill the pool the padding may bubble up in spots especially on hot days but do not worry, the water pressure will push it back down and you will be fine. If you have any questions at all feel free to email greg@mackeysmpi.com .